# vuepress 搭建个人博客填坑
2018-06-12
vuepress
# 1.侧边栏
官网 (opens new window)上讲了两种方式:
- 你可以使用对象将侧边栏链接分成多个组:
// .vuepress/config.js
module.exports = {
	themeConfig: {
		sidebar: [
			{
				title: 'Group 1',
				collapsable: false,
				children: ['/'],
			},
			{
				title: 'Group 2',
				children: [
					/* ... */
				],
			},
		],
	},
}
2
3
4
5
6
7
8
9
10
11
12
13
14
15
16
17
18
- 如果你希望为不同的页面组显示不同的侧边栏,请先将页面组织到目录中:
// .vuepress/config.js
module.exports = {
	themeConfig: {
		sidebar: {
			// 侧边栏在 /foo/ 上
			'/foo/': ['', 'one', 'two'],
			// 侧边栏在 /bar/ 上
			'/bar/': ['', 'three', 'four'],
		},
	},
}
2
3
4
5
6
7
8
9
10
11
我呢,想如何把两个组合起来使用:
nav: [
    { text: 'Home', link: '/' },
    { text: '前端之路', link: '/frontEnd/' },
    { text: 'one-monent', link: '/life/' },
    { text: 'Github', link: 'https://github.com/arieltlm/' },
],
sidebarDepth: 0,
sidebar:{
    '/frontEnd/':[
        {
            title: 'JavaScript', // 侧边栏名称
            collapsable: true, // 可折叠
            children: [
                '/frontEnd/javascript/', // 你的md文件地址
                '/frontEnd/javascript/one', // 你的md文件地址
            ]
        },
        {
            title: 'css', // 侧边栏名称
            collapsable: true, // 可折叠
            children: [
                '/frontEnd/css/', // 你的md文件地址
                '/frontEnd/css/one', // 你的md文件地址
            ]
        },
    ],
    '/life/':[
        '',
        'one',
        'two'
    ]
}
2
3
4
5
6
7
8
9
10
11
12
13
14
15
16
17
18
19
20
21
22
23
24
25
26
27
28
29
30
31
32
# 2.图片放置位置
在.vuepress 创建 public 文件夹,图片或者静态文件均可以放在此文件夹下,vuepress 在打包时会将此处内容移动到根目录下。
# 3.favicon.ico
config.js 中增加:
head:[
    ['link',{rel:'shortcut icon',href:'/icons/favicon.ico'}]
],
2
3
# 4.在 vuepress 中使用 vue 组件
在.vuepress 下面创建 components。然后组件就和平时写 vue 组件一模一样,要使用 sass 等的也和平常的 vue 一样。
在任何一个 md 文件中都可以直接使用组件,组件名就是文件名。
<tag-part tagName="vuepress" />
可参考github 上 myblog 中标签的实现 (opens new window) 博客实例 (opens new window)
踩坑:
官网 (opens new window)上有说明,确保自定义组件的名称包含连字符或符合 PascalCase 命名规则,否则报错。
# 5.部署运行
在根目录下执行vuepress build docs 就会在.vuepress 目录下生成 dist 文件夹
进入 dist 文件夹cd docs/.vuepress/dist,执行
git init
git add -A
git commit -m 'delopy'
git push -f https://github.com/arieltlm/my-blog.git master:gh-pages
 git push -f  https://你的token@github.com/arieltlm/my-blog.git master:gh-pages
2
3
4
5
# 6. vuepress 中 markdown 中 git 命令行高亮的代码为 bash
举例(```bash):
git add .
# 7. vuepress 中增加样式
在 config.jshead中增加
head: [
    ["link", { rel: "shortcut icon", href: "/images/favicon.ico" }],
    ["link", { rel: "stylesheet", href: "/style/style.css" }],
],
2
3
4
路径是相对于 pubilc,所以将文件只需要放在 public 文件夹下即可。
或者在 override.styl 文件中直接添加也可以
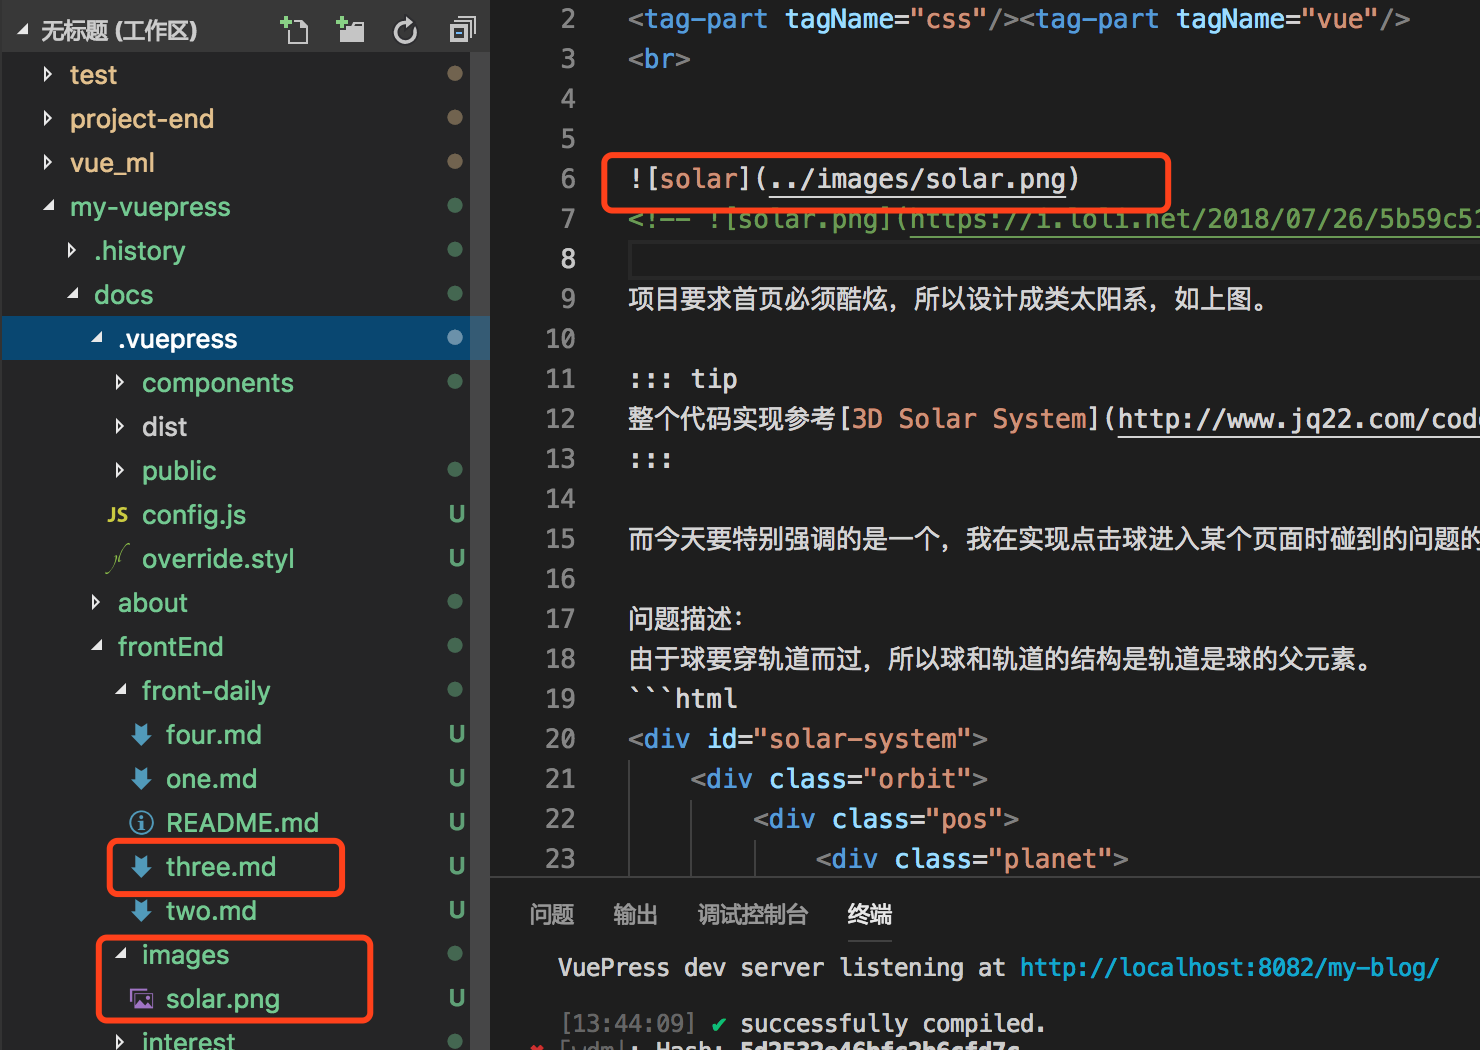
# 8. .md 文件中添加图片

# 9. 代码中的行高亮,添加显示行号
如下第 5 行是高亮的,在```js 增加{5}即可
console.log(111)

var a = 1 + 1
// 输出a
console.log(a)
2
3
4
5
在 config.js 中配置下面的 markdown 配置,可显示行号:
module.exports = {
	markdown: {
		lineNumbers: true,
	},
}
2
3
4
5
# 10. 显示各类信息
::: tip
这是一个提示
:::

::: warning
这是一个警告
:::

::: danger
这是一个危险警告
:::

::: details
这是一个详情块,在 IE / Edge 中不生效
:::
2
3
4
5
6
7
8
9
10
11
12
13
14
15
16
这是一个提示 :::
这是一个警告 :::
这是一个危险警告 :::
这是一个详情块,在 IE / Edge 中不生效 :::
# 11.资源列表
# 表情小图标列表 (opens new window)
# 12.从 sass 切换 less
sass 总是各种坑,不想用了,换成 less,安装后报错;原来是 less 的版本太高了,换成less-loader@7.3.0可以了
← css Module 发布自己的npm包 →